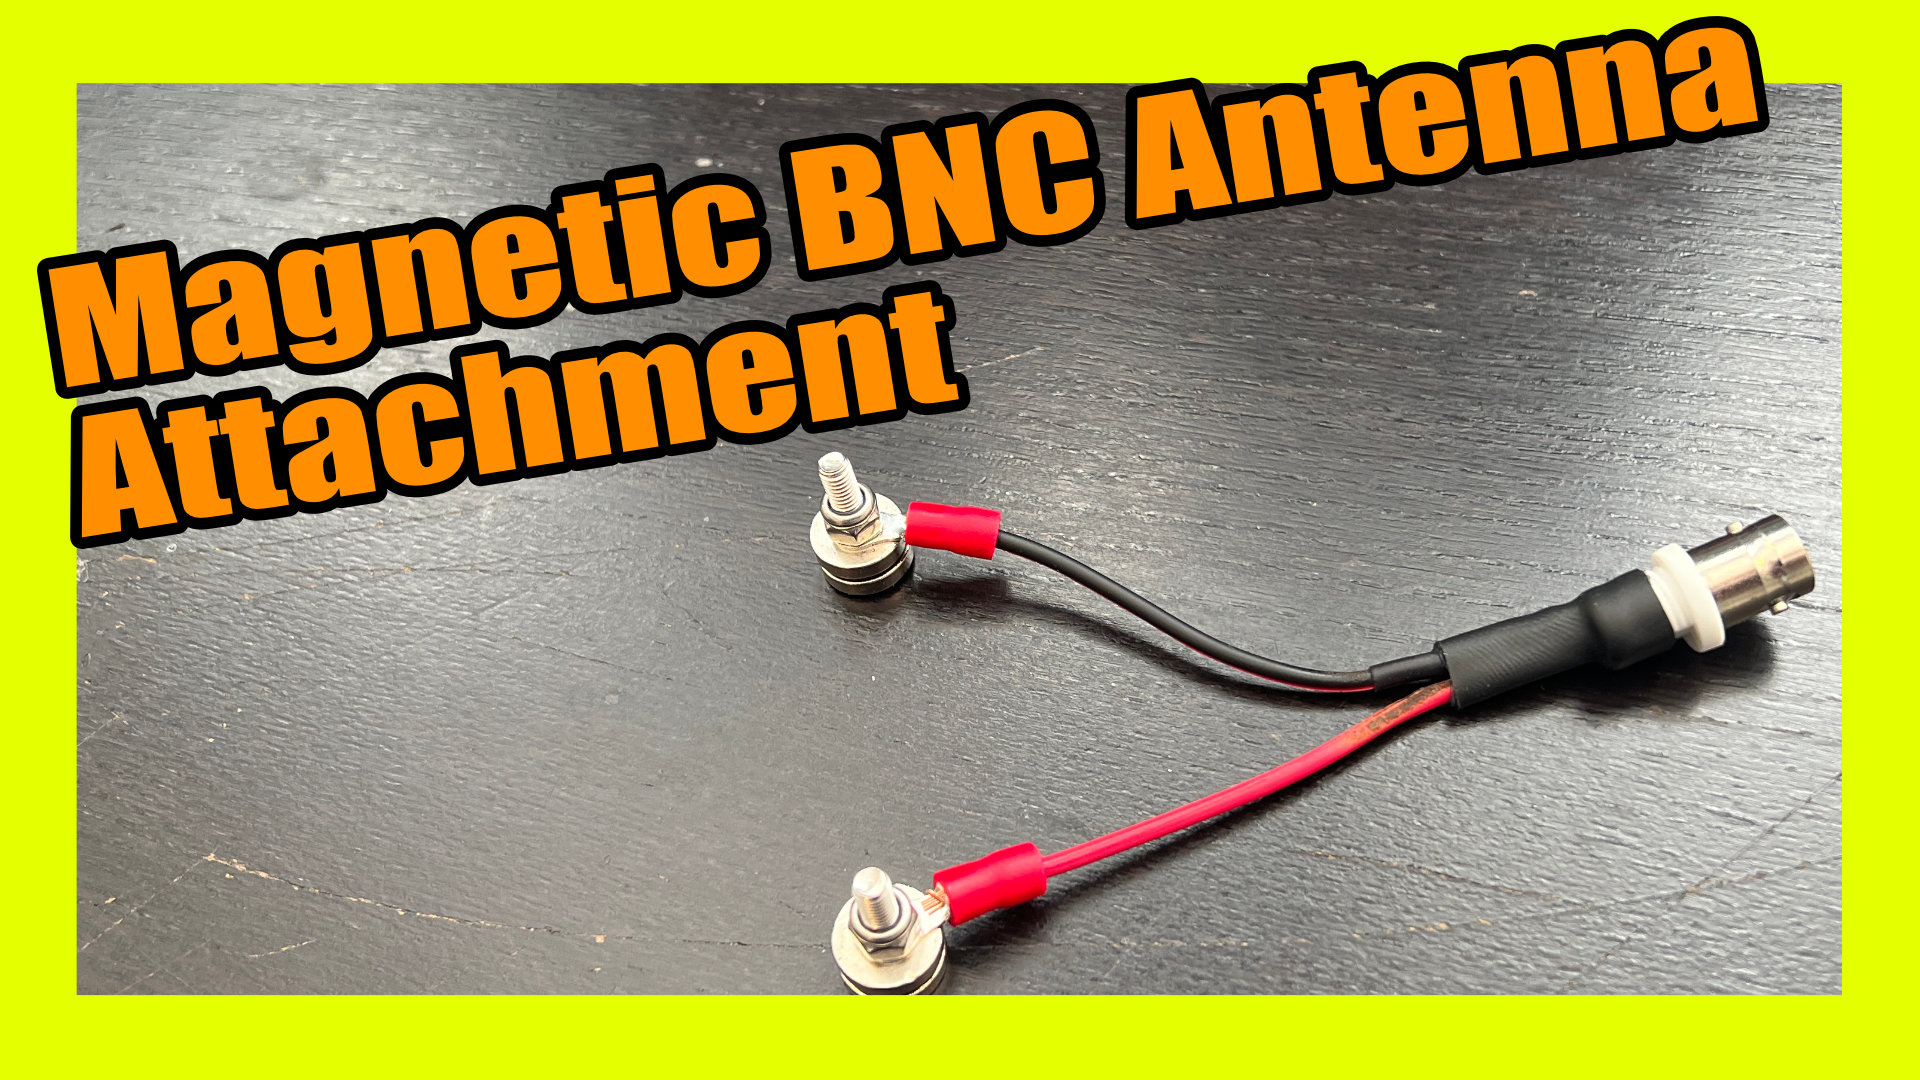
Following the enthusiastic response to my duct tape antenna video, I’m back with a new tutorial! Today, I’ll show you an easier way to create mag mount BNC connectors for your ham radio antennas. This method leverages BNC bulkhead fittings and effectively eliminates the need for tedious sawing which I previously demonstrated. I’ve embedded the video tutorial below for a step-by-step guide:
Introduction and Recap
In the last episode, I shared how to use barrel connectors for BNC to make a pigtail. However, after receiving insightful feedback, especially from a Reddit user, I discovered that using a bulkhead fitting is a far simpler and more efficient method.
The BNC Bulkhead Fittings Solution
BNC bulkhead fittings come with all the essentials you need, making the process straightforward and saving you from the sawing hassle I ran into in my previous attempt. Simply remove the nut and washer from the BNC connector, tin the two ends to prepare them for soldering, and you’re good to go.
Soldering and Ensuring a Secure Connection
When soldering, it’s crucial to tin both the wire and the connector ends to ensure a reliable connection. Also, remember to run some heat shrink over one of the wires to prevent shorting out, followed by a larger heat shrink to cover the entire assembly.
Creating Magnetic Feed Points
Upon a viewer’s inquiry, I also delved into how to create magnetic feed points using simple neodymium magnets, M4 screws, and crimp connectors. These feed points are essential for a solid antenna setup.
Upgrading Your Crimping Tools
Investing in quality crimping tools will significantly ease your crimping process. I shared a couple of options, including a more affordable alternative to the Klein pliers I use.
Final Assembly, Testing, and an Upcoming Project Teaser
With the connectors ready, it’s time for final assembly and testing on your antenna. Also, I teased an exciting upcoming project – the ‘Flagi,’ a unique spin on Yagi antennas using foil tape on fabric or Tyvek.
In this journey, I’ve embraced the learning curve, and I’m thrilled to share these insights with you. Stay tuned for the ‘Flagi’ antenna project, and don’t forget to check out the duct tape antenna video if you haven’t already. The link to the video and all necessary tools and materials are available in the description below the embedded video. Until our next radio adventure, this is Victor Echo 6, Sierra Foxtrot X-Ray, signing off!
Tools and Materials:
Klein Pliers/Crimper: https://amzn.to/3ZXlhy3
Crimper: https://amzn.to/3Ql2SI4
Crimps: https://amzn.to/3QkCNsN
Magnets: https://amzn.to/3FmbQi8
M4 Screws: https://amzn.to/45EvNeC
M4 Nuts: https://amzn.to/3rUriyO
BNC Panel mounts: https://amzn.to/3M6EJmh
Wire: https://amzn.to/3Z8qylM
Heat shrink: https://amzn.to/3Er5xJL
Heat Gun: https://amzn.to/45YygBh
Soldering Iron: https://amzn.to/463xUcO
Solder: https://amzn.to/3Z7wviU Flux: https://amzn.to/3sJT3dt

